Set Up Your Account
To send emails using MailCub APIs, you must have an active MailCub account and a verified domain. If you don’t have an account yet, create one from the signup page . Once your account is confirmed.
Configure your domain from the dashboard.
Prerequisite: Verify Your Domain
Before sending emails, your domain must be added and verified in MailCub.
👉 See: [Add and Verify a Domain in MailCub]
Domain verification requires setting up MX, SPF, DKIM, and DMARC DNS records at your domain provider.
Email sending will not work until domain verification is complete.
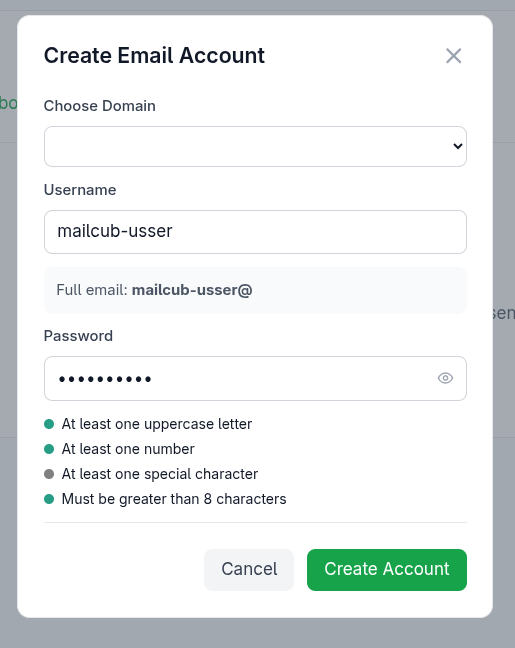
Create Email Accounts
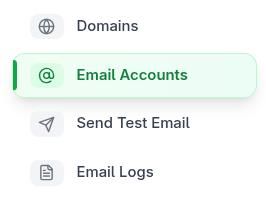
- Go to Email Accounts in the sidebar.
- Click Create Account.
- Select your domain and set a strong password.
visit https://mailbox.mailcub.com/ to access your inbox.